

I wanted to make my son a helicopter cake for his 2nd birthday but didn’t find one that really looked nice online. With a little imagination, I made this one, and I know its not fantastic or maybe too amazing, but it looked all right and my son loved it.
So here’s the steps to make your own one, even though its just a guide and you shouldn’t ignore your own instincts or creativity!
Throwing a birthday party is a lot of work, so I hoped I could use a box cake instead of making one from scratch, to save some time. I used the left picture for the tail – and since my pans wasn’t greased enough I threw out the rest of the white cake and made the packet on the right for the body of the helicopter. So remember to really grease your pans – for the glass bowl I used just a little piece of parchment paper for the bottom, and a LOT of butter for the rest.


Both these cakes came out very well. I used buttermilk instead of milk or water so that might make a difference, no idea. After it cooled down, I put them in the refrigerator so that they could really keep the shape while I put the icing on. I used a 2.5 pyrex glas bowl for the body of the helicopter, a round cake pan that will fit the bottom of the glas bowl, not sure the size, but just fit the two together and you’ll see if they’re a good fit. I used a bread pan for the tail. I used a small ice cream cone for the piece where I’d put the rotors, which were some of those chocolate filled long biscuits – you’ll see in the pictures to follow. I cut the bottom of the round (glass bowl) cake and the top of the round cake so they’d be straight and fit nicely together. And you’ll see how I cut the bread cake – just pieces off the sides and the top. Also keeping a little square for the top back part of the tail – okay, let’s have a look before I lose you.
 That’s the round cake – I didn’t fill mine too high, but I think it would give the cake a better lift if this base is higher than mine was.

There’s the glass bowl with the piece of paper still inside, the cake in the back and the one I threw out kind of in the picture (see why I threw it out?! haha)
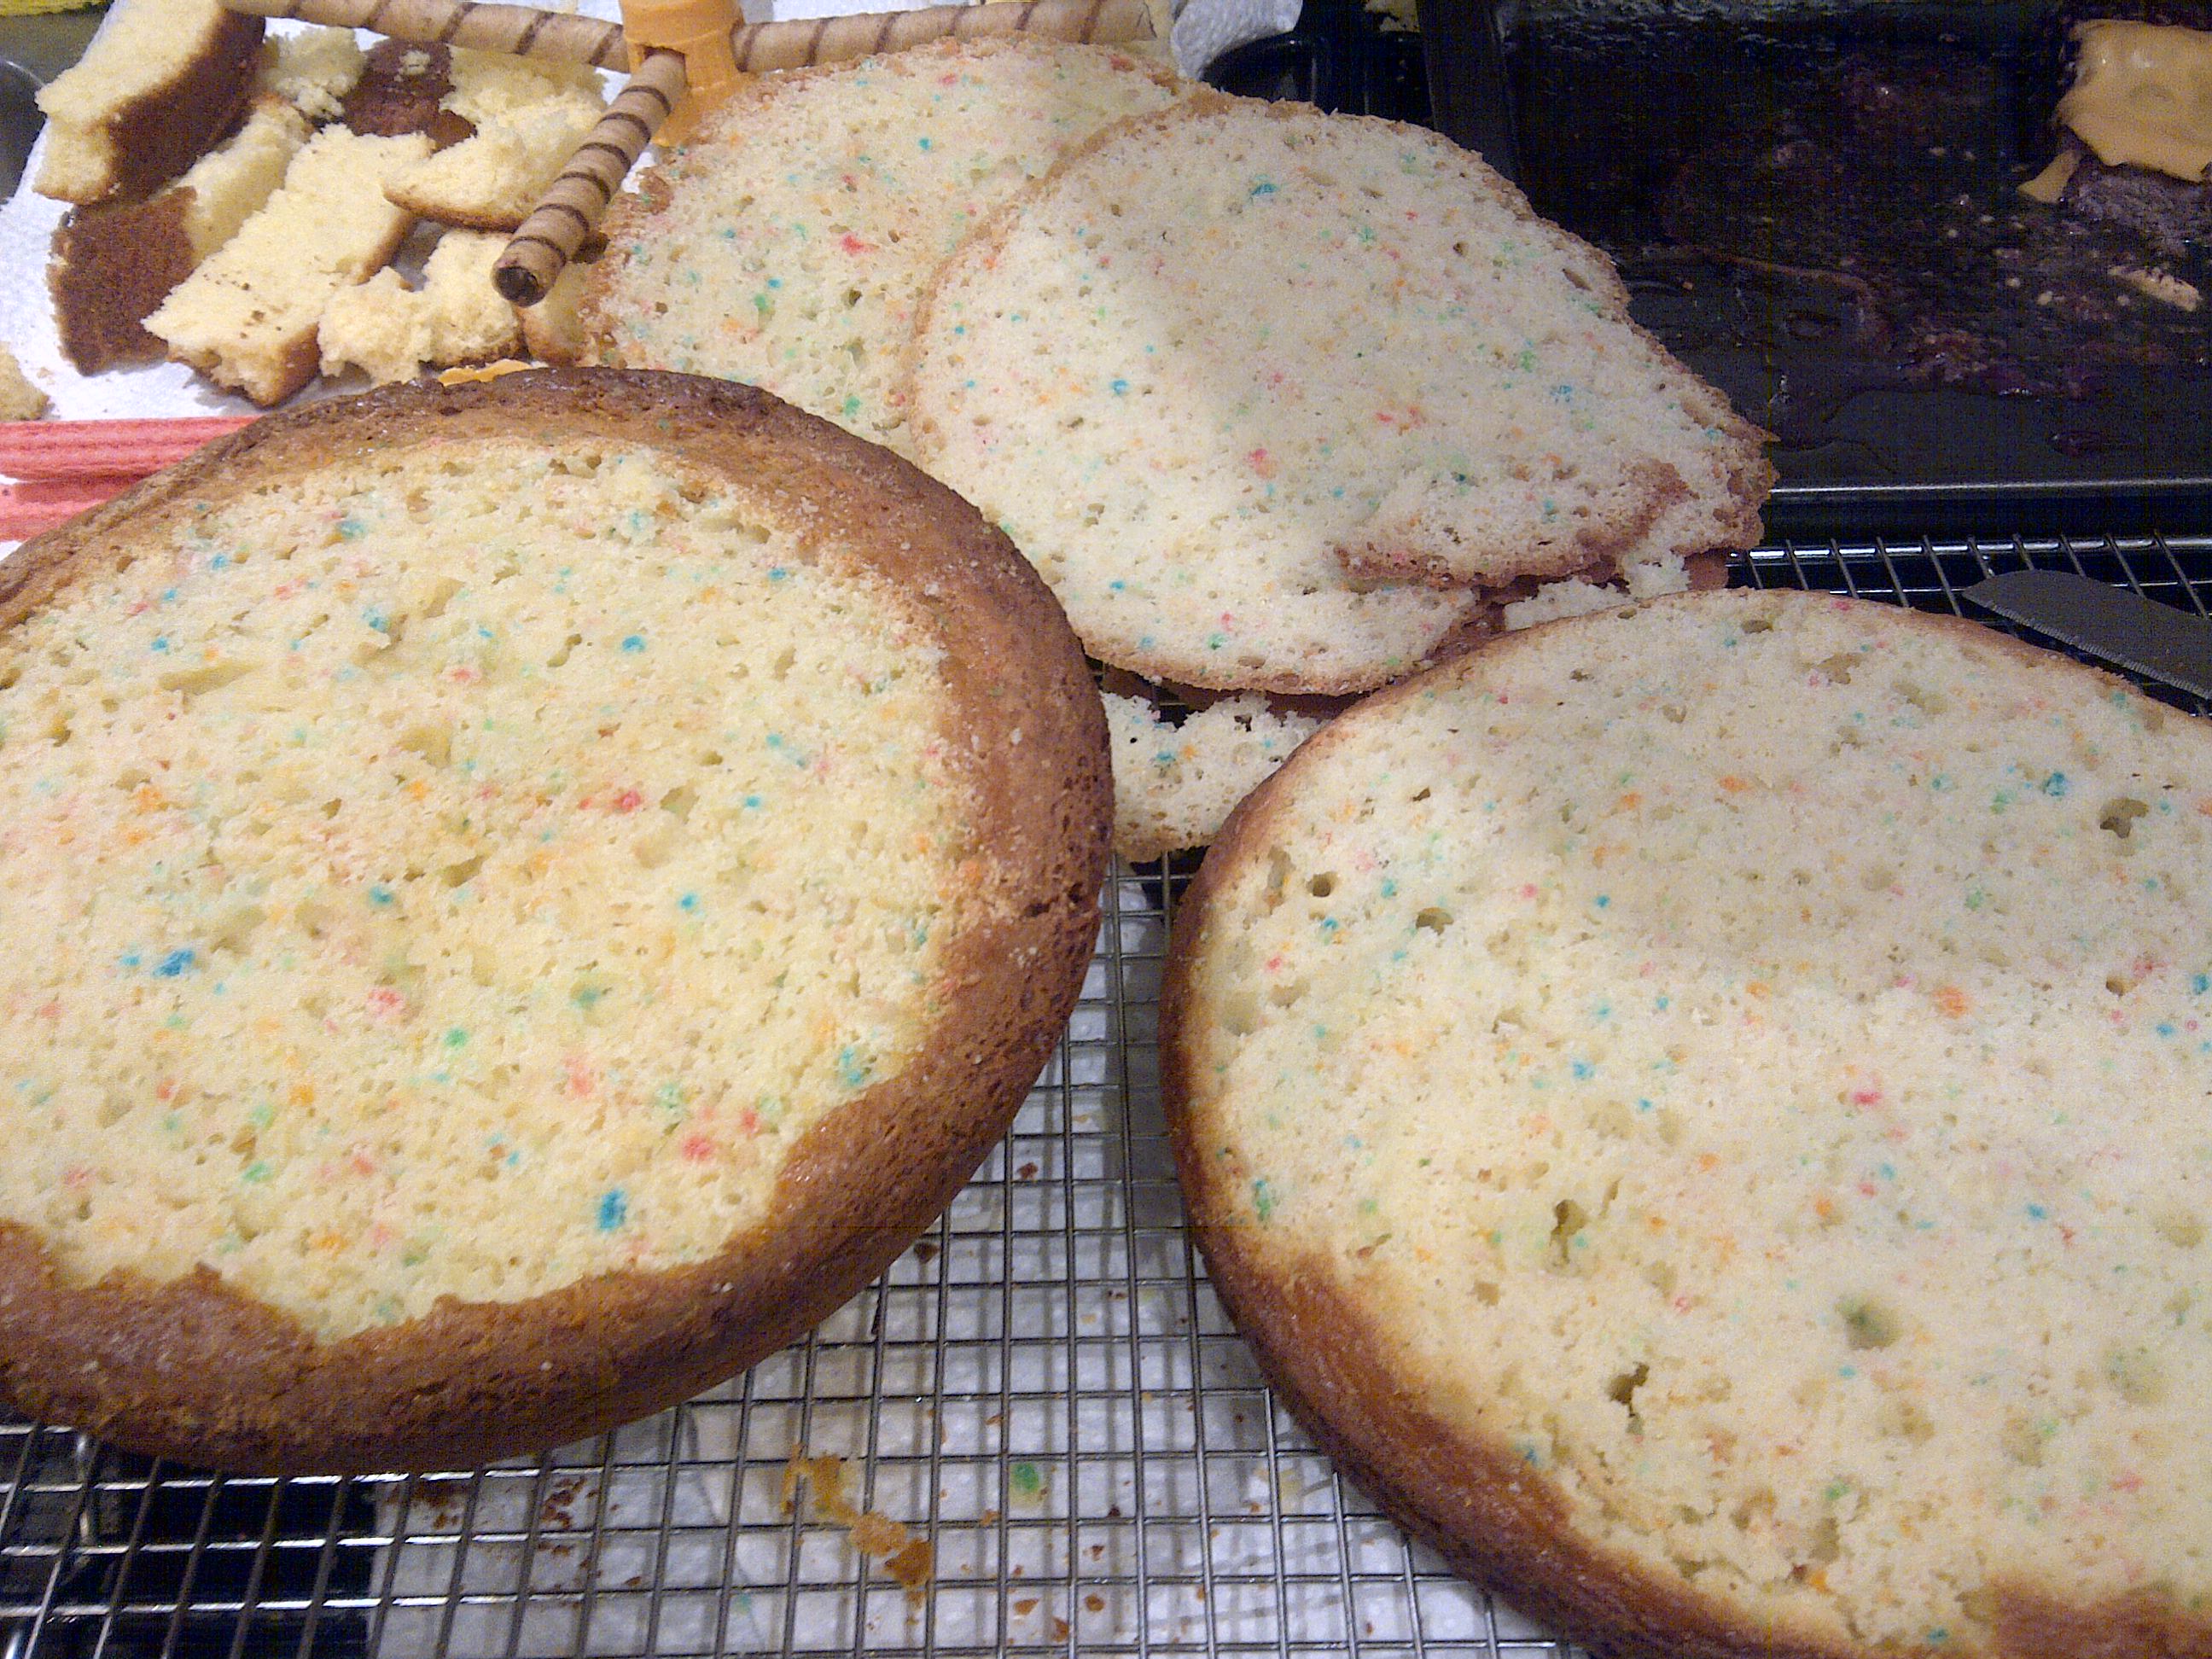
Here’s the 2 cakes after I cut the bottom/top parts off to get it level.

This is the ice cream cone – in which I cut 4 little squares for the rotors to fit in. I had to cut most of the middle part out too and the rotors didn’t stand straight to the sides, they almost looked a little lazy, but they were okay. Maybe one can put a thick-ish wire through so they’ll stand a bit straighter.

So there you can see how the tail was cut and what the rotors and their holes look like. Pretty simple actually.


So there you can see I tried to make the icing for between the 2 cakes as red as possible. It still looked like dark pink – and I used more than 30ml red coloring. I used premade icing and I recommend when you have to add so much coloring, to use something that is also an icing and not liquid, cause the liquid makes the rest of the icing too runny. On the right is the whole helicopter that has its base coat of icing on. I forgot to leave spots open for the windows.. so I had to do this..

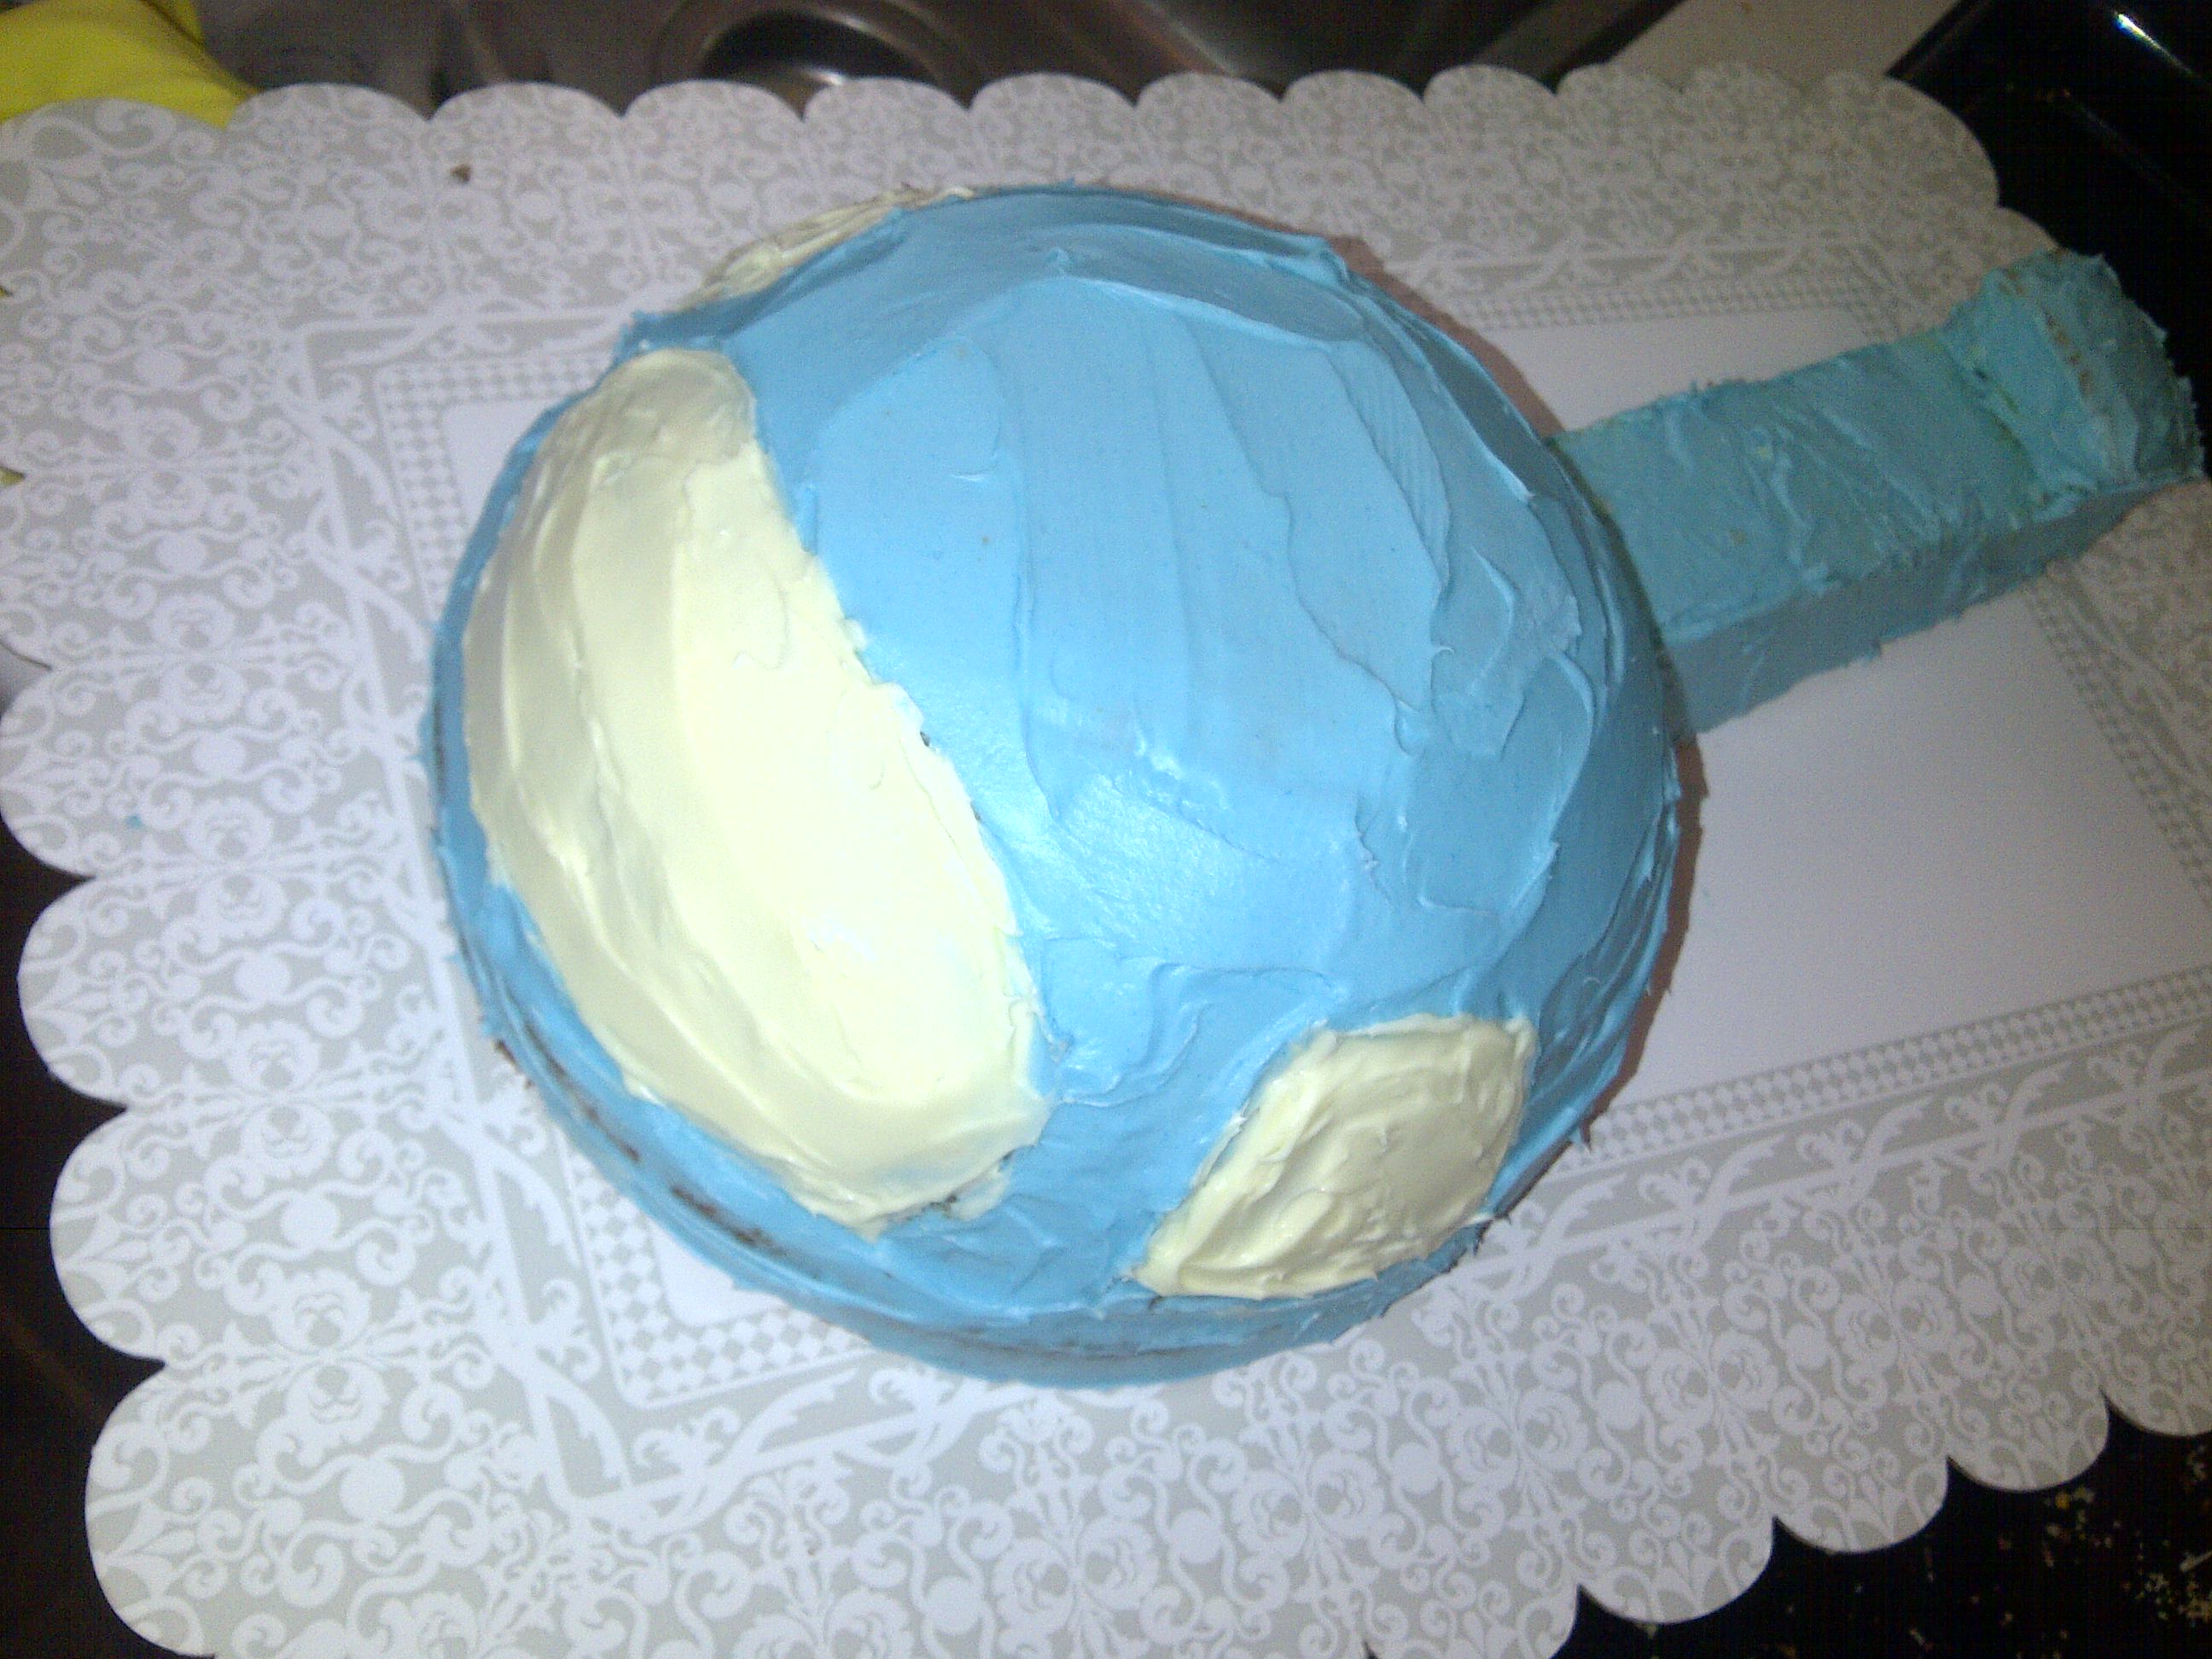
Not pretty, but it worked.
I decided to cover the entire cake with flower icing – it looks pretty, its easy enough and it makes it more simplistic so that you don’t have the whole cake to fill with other decorations.
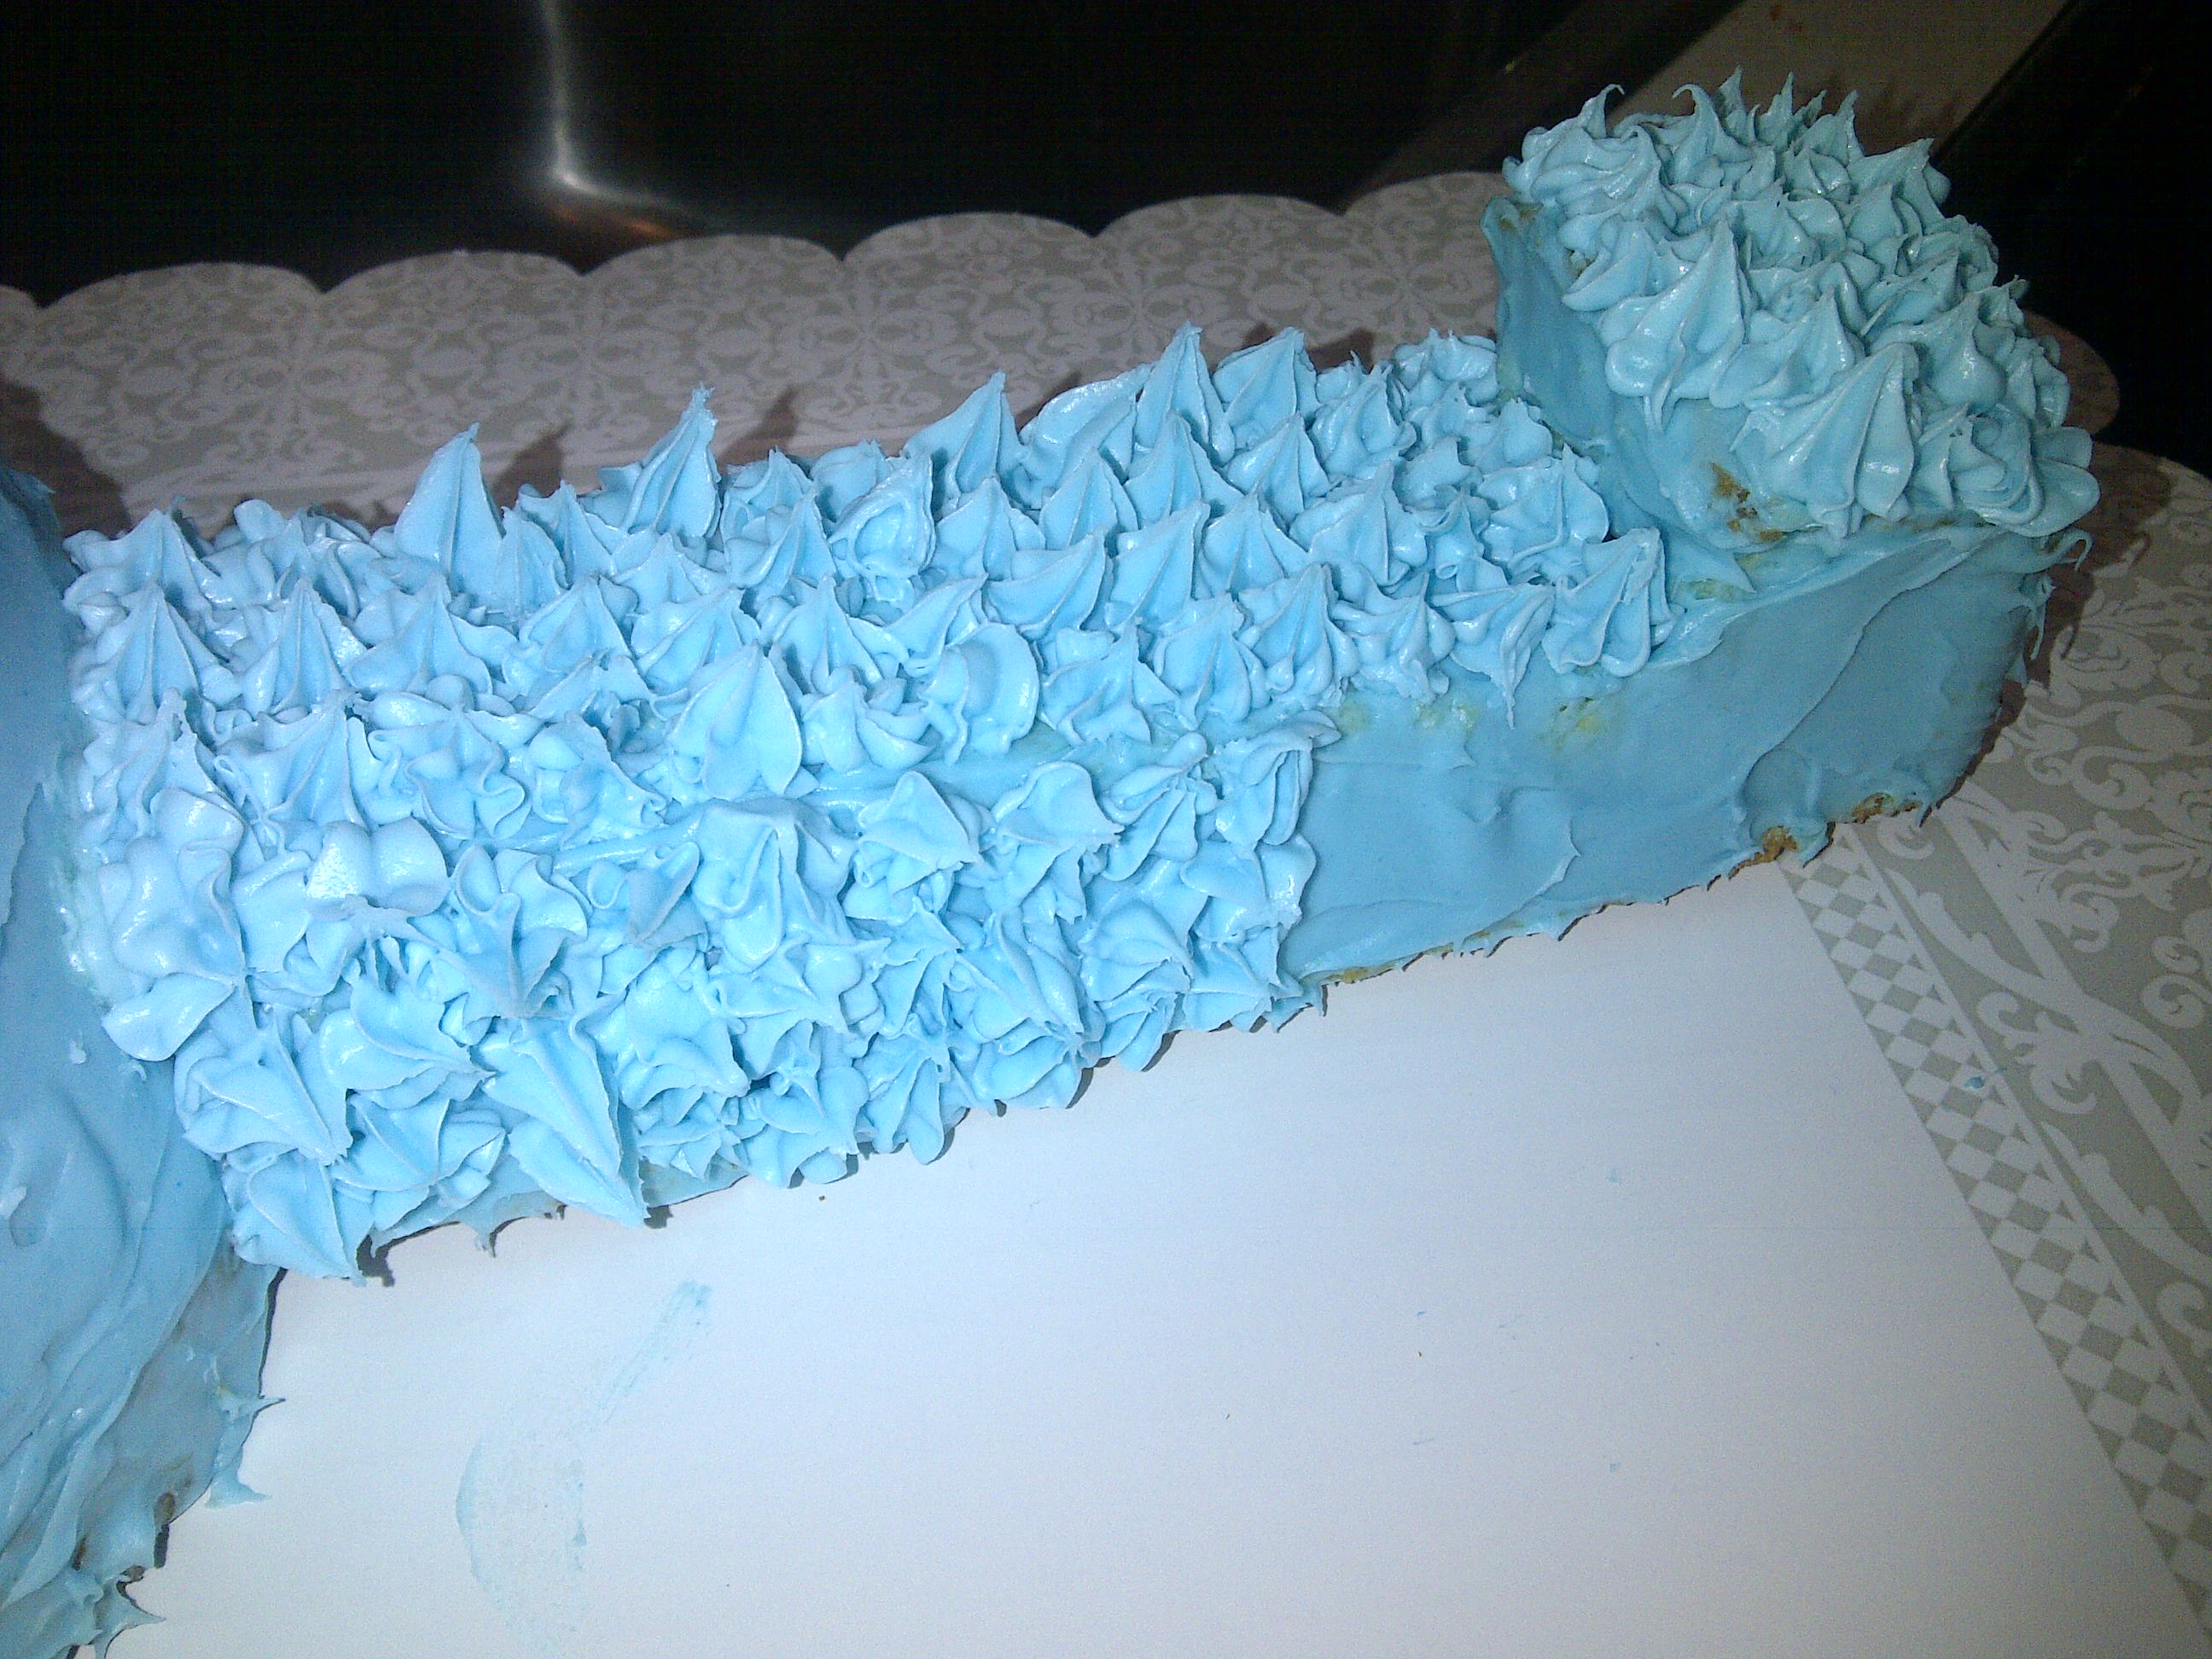
Here’s the tail where I started. I used icing in a can, ready or use which came with different nozzles. I was really pressed for time, that’s the only reason I went for this option, but it came out fine and tasted good too.


So you can see the tail was done and I framed the windows with a small black icing tube, then finished the body with flowers and left a space for the rotors.

There we go, looking better. For the tail rotors I just cut one of those biscuits in half. I didn’t have enough time to think of anything else. Now some detail..

The party theme was “Umizoomi” and the umi-helicopter has numbers 1 2 3 on the side of the tail, but I just made 2, since my son was turning 2, and made them on top because I used glittery icing from a tube which looked a little too runny for the side. Didn’t want to risk it at this stage.


There we are. I colored some coconut shavings with blue food coloring for the sky and the white is supposed to be clouds. The skids are twizzlers dipped in honey and rolled in coconut – didn’t come out that good, so I’d rather use something else. Maybe a tootsie roll that’s heated in the microwave (just a wee bit) to soften it, and then rolled into the desired thickness. There’s a liqorice yummy on top of the rotor-thingy, which is supposed to be a light, and a couple of mini eggs, also lights, or just to put some color into the whole thing. Maybe a big wafer cut into 3 triangles would work better or the back rotors because its light and would stick easily. I also didn’t have time, and couldn’t think of anything to use for the skids. It would look pretty cool to have the body of the heli on skids and not them sticking out the sides.
So there you go. I think I remembered to say everything that needs to be done. If there are any questions, please feel free to comment. I know its not the most beautiful cake but its just a guide and I hope it helps someone make an amazingly awesome helicopter cake! Happy baking, decorating and happy birthday!
